- Aberdeen
- Armagh
- Belfast
- Birmingham
- Bradford
- Brighton
- Bristol
- Cambridge
- Canterbury
- Cardiff
- Carlisle
- Chester
- Chichester
- Colchester
- Coventry
- Derby
- Derry
- Doncaster
- Dundee
- Dunfermline
- Durham
- Edinburgh
- Exeter
- Glasgow
- Gloucester
- Hereford
- Inverness
- Kingston upon Hull
- Lancaster
- Leeds
- Lincoln
- Liverpool
- London
- Manchester
- Milton Keynes
- Newcastle
- Newport
- Norwich
- Nottingham
- Oxford
- Perth
- Peterborough
- Plymouth
- Preston
- Salford
- Salisbury
- Sheffield
- Southend-on-Sea
- St Albans
- Stoke-on-Trent
- Sunderland
- Swansea
- Wakefield
- Wells
- Westminster
- Winchester
- Wolverhampton
- Worcester
- Wrexham
- York
The specialist arrives from 08:00 to 18:00 every day.
The specialist arrives from 08:00 to 18:00 every day.
Paskelbta 2024-04-03 kategorijoje: General
8 steps to properly install a stretch ceiling
Has your renovation progressed to the stage of ceiling repair? Are you considering installing a stretch ceiling? Excellent choice. It’s the quickest, simplest, and cleanest way to finish a ceiling.
What is a stretch ceiling?
A stretch ceiling is a structure made of a frame into which a stretch fabric is inserted. The fabric is stretched and creates a smooth surface.
Fabrics can be PVC film or fabric. There are also different types of frames depending on the material, mounting method, and design. The choice of fabric and frame affects the installation of the stretch ceiling.
Let’s choose the classic option – a one-level stretch ceiling with a chandelier and lights. Let’s take a closer look at how it’s installed.
8 steps to install a stretch ceiling
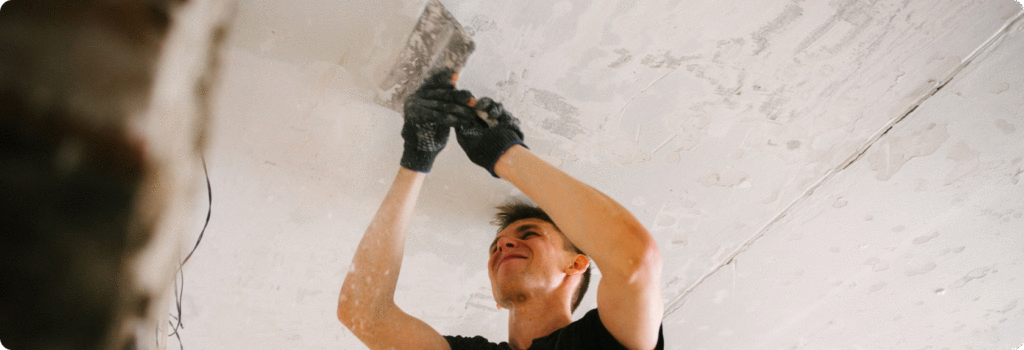
1. Preparation of the rough ceiling.
This step may be omitted if not necessary. However, if the old plaster is crumbling from the ceiling, there are cracks, or sharp details protruding, these defects must be eliminated.
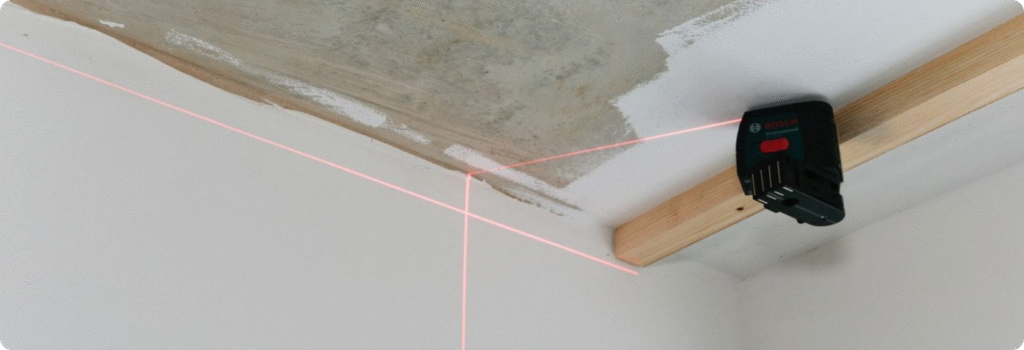
2. Marking for the profile.
The stretch ceiling is lowered a certain distance from the rough ceiling during installation. Firstly, due to the width of the profile. Secondly, due to variations in ceiling height within the room. Therefore, marking is made on the wall in advance for attaching the profile. To ensure precision and speed, a laser level and chalk line are used.
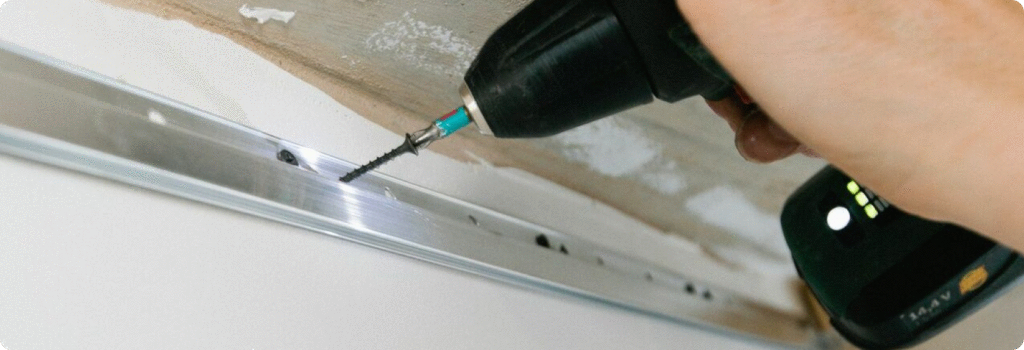
3. Installing the profile (molding) around the perimeter of the room.
The profile is fastened starting from the internal corner with screws spaced 10-15 cm apart. Percussion drills with dust extraction attachments are used when drilling into the wall. The bottom part of the profile aligns with the marking. Joints of the profile are smoothed with a file and then covered with aluminum foil tape.
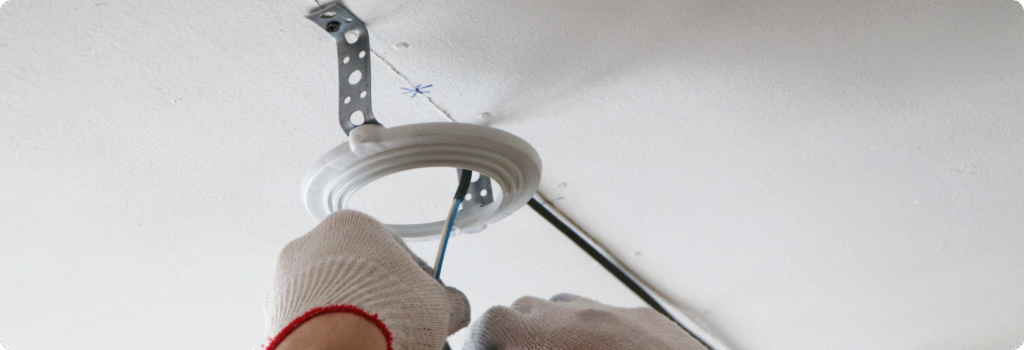
4. Installing platforms for light fixtures.
To ensure that the chandelier or light fixture is supported by the stretch ceiling, a platform made of thermoplastic is attached to the rough ceiling using metal hangers. After the fabric is stretched, this structure holds the lighting fixture in place.
5. Wiring installation.
Often, there is only one light point in the room, but several are needed. The installation team carries out the wiring to the locations of the new light points, where platforms are already installed. Electrical cables are also secured to the rough ceiling with hangers to prevent them from falling onto the stretched fabric. The ends of the wires are securely placed into terminals.

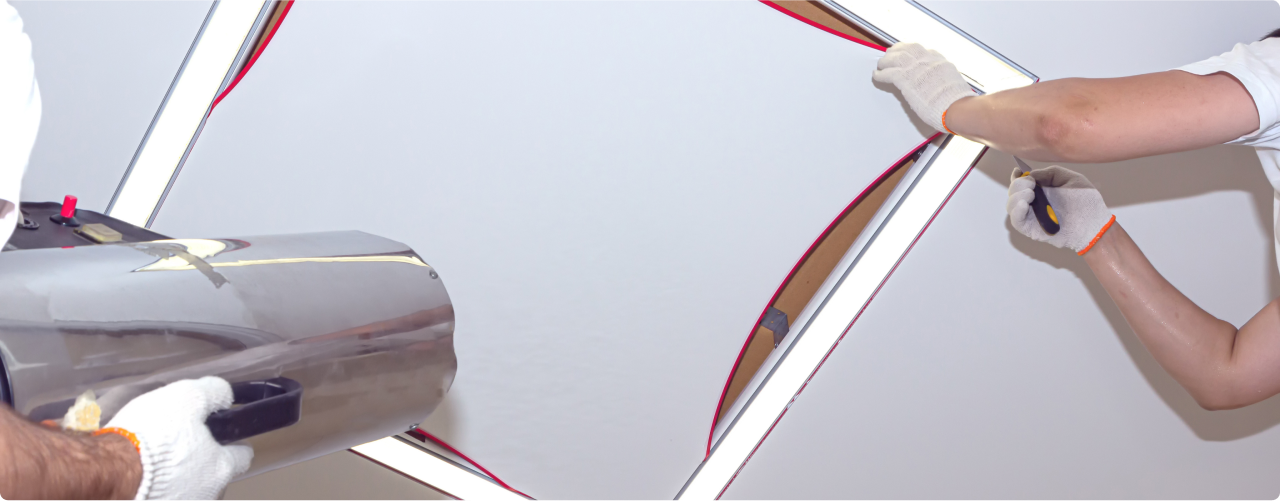
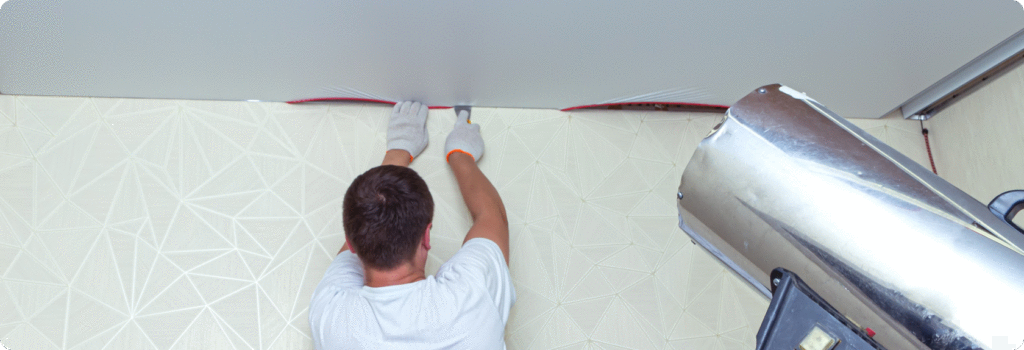
6. Stretching the fabric.
It should be noted that fabric and PVC fabric are stretched differently.
- How is PVC fabric stretched?
The fabric is spread out and attached to suspension clips at all corners of the room. Then, the fabric is heated with a heat gun. It becomes more elastic, and it is started to be inserted into the profile, also from the corners. Aluminum profile is used in this case. The harpoon around the perimeter of the fabric clicks into place in the profile, securely fixing the fabric.
- How is fabric stretched?
Fabric is not heated or stretched. Therefore, when measuring the fabric, an additional 20-30 cm is added on each side to stretch it into the profile. During installation, a plastic “clamp” profile is used. Visually, the profile resembles a tightly compressed clothespin, into which the fabric is inserted. Installation starts from the middle of the walls towards the corners. The fabric is fixed into the profile not from the edge of the fabric, but with a margin. Once all the fabric is inserted into the profile, excess material around the perimeter is trimmed.
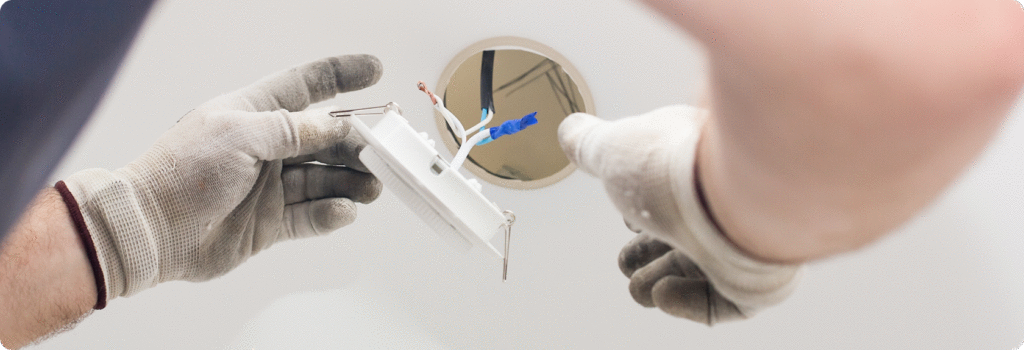
7. Installation of lighting.
Thermal rings are attached to the fabric on the outer side where the platform is mounted. A hole is cut inside the ring. The thermal ring is necessary to protect the fabric from tearing. The diameter of the ring, like the diameter of the platform, is selected to fit the light fixture or chandelier. The light fixture is connected to the wiring through the ring and fixed to the platform.
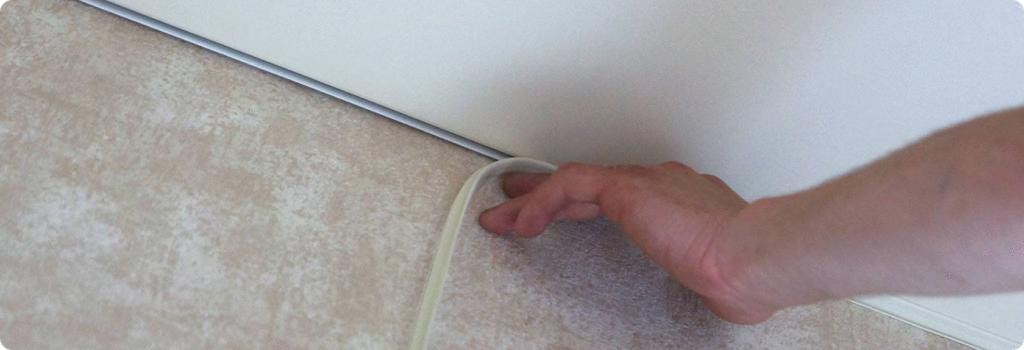
8. Ceiling framing.
This is the final stage of installation. To frame the ceiling, baseboards or decorative plastic inserts are used. The choice depends on the customer’s preferences, room design, and purpose. There are profiles that do not require ceiling framing at all, such as ceilings with a shadow profile.
The installation process of a one-level stretch ceiling takes only a couple of hours. But if you have the stretch ceiling installed by Brilliance specialists! So call +44 74888 71590, schedule a measurement-consultation, and plan the day and time for the stretch ceiling installation!
Share
Daugiau iš kategorijos: General
Thank you!
Your enquiry has been sent successfully